

A February weekend in your camper van, and your battery gives up the ghost. Cost: £200 to replace. The culprit? A rushed winterisation. To avoid this kind of hassle, here are the key steps to follow, whether you own a family model or a compact van.
Why Winterising Isn’t Optional
Leave your motorhome unprepared for three winter months, and you risk:
- Frozen water tanks, leading to burst pipes.
- A battery drained by 30%, fit only for the bin.
- Cracked roof seals, letting in water at the first sign of rain.
- Mice moving into your living space, chewing through wires and insulation.
The result? A repair bill that could climb to €500, and a vehicle stuck in the garage instead of hitting the road. The solution? A methodical preparation, tailored to your usage.
The Field Checklist: What to Do, in Order
For a 3.5-tonne family model, allow 2 to 3 hours of work. Here are the steps—don’t skip any:
- Full drain: fresh, grey, and black water. Open all taps and the water heater valve. Any water left in the pipes? That’s a guarantee of freezing and pipes needing replacement. For a camper van, a full drain takes 45 minutes.
- Interior/exterior clean: a clean motorhome resists mould better. Vacuum, wipe down surfaces, and air out before closing the doors. Pro tip: sprinkle bicarbonate of soda in cupboards to absorb moisture.
- Battery: protect or remove: disconnect it and store it in a dry place, between 10 and 20°C. If you leave it in place, connect a smart charger. A neglected battery loses 3% of its capacity per month.
- Seals: hunt for leaks: check the seals on doors, windows, and the roof. A hardened or cracked seal? Replace it before winter. Tip: test with a hose—if water seeps in, it’s time to seal.
- Tyres and brakes: inflate tyres to the recommended pressure + 0.2 bar. For brake pads, a visual check is enough—if the thickness is less than 3 mm, replace them before storage.
- Pests: block access: plug vents with steel wool, and use natural repellents (peppermint essential oil, lavender sachets). Mice love nesting in insulation—and chewing through it.
The Battery: Winterisation’s Weak Link
A poorly maintained battery means a guaranteed breakdown in spring. Here’s how to preserve it:
- If you remove it: store it in a dry place, safe from frost. A cellar or insulated garage will do.
- If you leave it in place: connect a smart charger (like a CTEK) to maintain its charge level. Without it, it loses 30% of its capacity in three months.
- For non-sealed batteries: check the electrolyte level and top up with distilled water if needed.
Regular maintenance extends its life by 2 to 3 years. Without it, budget €150 to €300 for a replacement.
Cracked Seals, Water Leaks: The Warning Signs
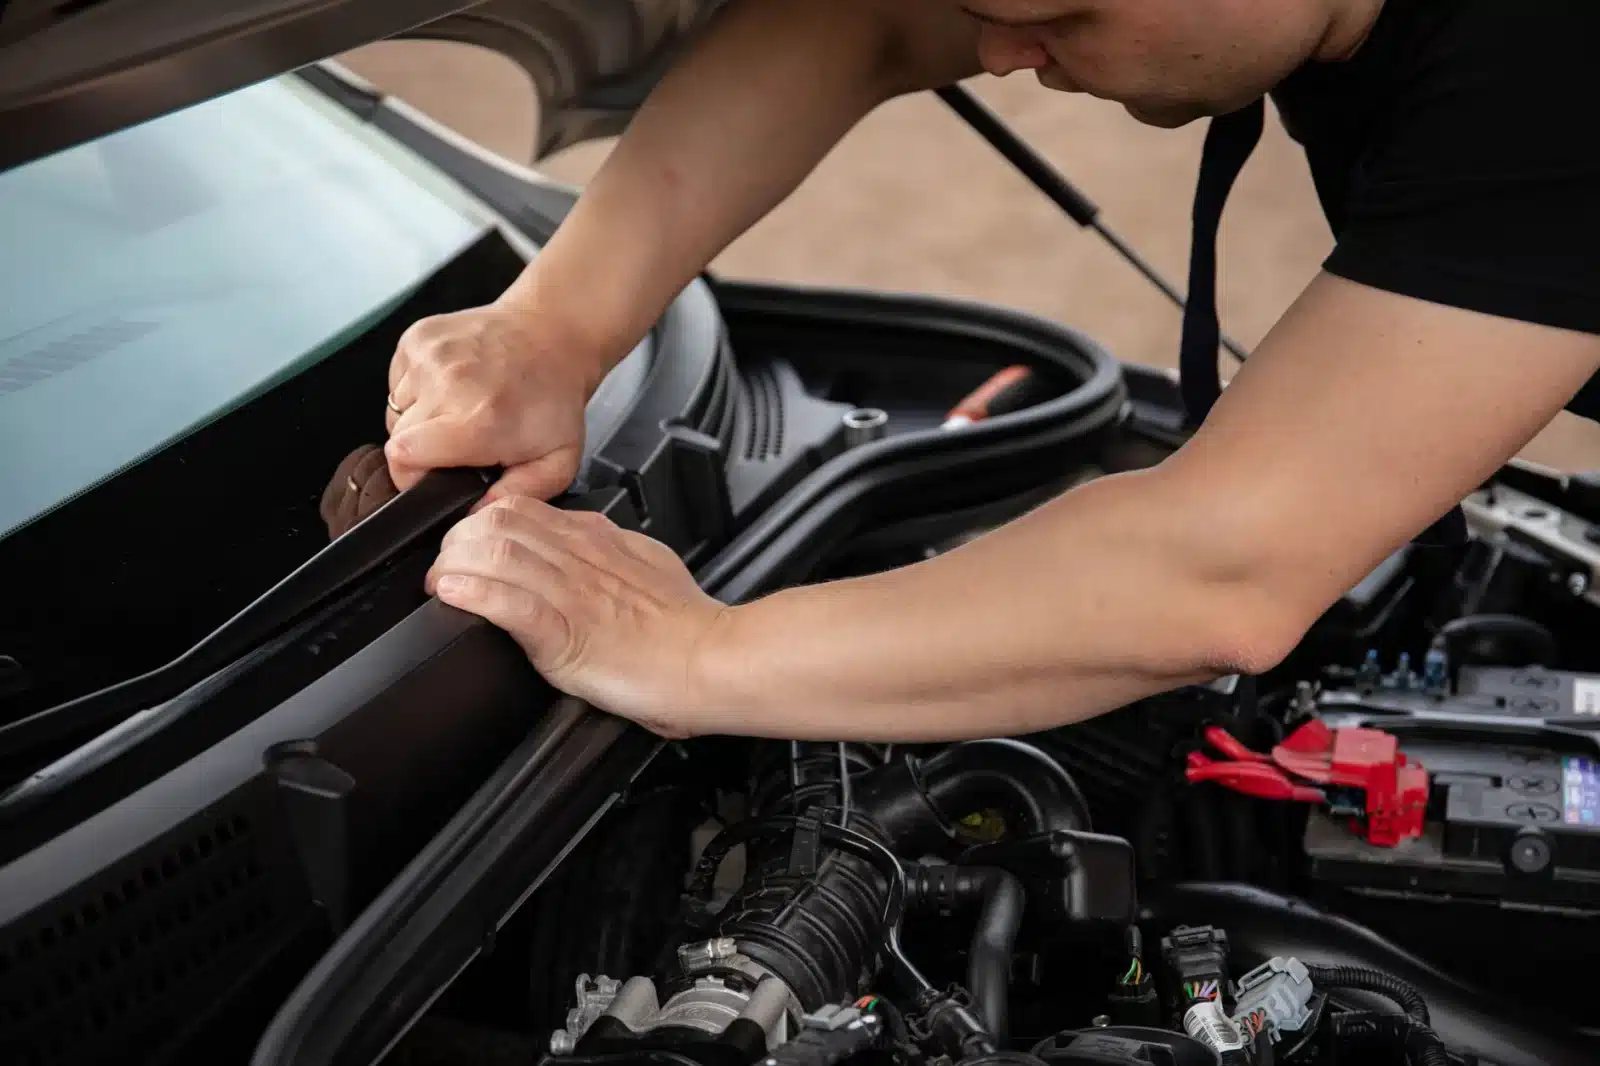
Waterproofing is a motorhome’s Achilles’ heel. A damaged seal means guaranteed flooding. Here’s how to spot problems:
- Inspect the seals: run your fingers over the seals on doors, windows, and the roof. If you feel cracks or hardened areas, they need replacing. A new seal costs €20; a leak can cost €500.
- Test with a hose: lightly spray your motorhome and watch for water seeping in. Focus on areas around windows and skylights—leaks are most common there.
- Seal small cracks: use motorhome-specific silicone sealant. Apply in dry weather, and let it dry for 24 hours before exposing the vehicle to rain.
An annual waterproofing check will save you costly repairs. And if you spot a leak, act fast—water ingress can cause short circuits or mould.
Gas: The Checks That Save Lives
Gas is handy, but it’s also dangerous if poorly maintained. Before storing your motorhome, check:
- Close the cylinders: shut off the gas bottles and purge the pipes. Even a minor gas leak can cause an explosion.
- Regulators: inspect their condition. A worn or rusty regulator must be replaced—budget €30 to €50 for a new one.
- Leak detection: use a gas detector or soapy water. Apply it to connections—if bubbles form, there’s a leak.
- Cylinder storage: if possible, remove them and store in a ventilated place, safe from frost. Otherwise, ensure the gas locker’s ventilation is clear.
A well-maintained gas system guarantees safe travels. If in doubt, call a professional—better safe than sorry.
The Costly Mistakes (and How to Avoid Them)
Even with the best intentions, some mistakes can ruin your winterisation. Here are five to avoid at all costs:
- Skipping the drain: a poorly drained tank guarantees frozen pipes and €300 in repairs. For a camper van, a full drain takes 45 minutes—don’t skip it.
- Forgetting the battery: an unmaintained battery loses 30% of its capacity in three months. Replacement cost: €150 to €300. A smart charger costs €50—a worthwhile investment.
- Ignoring waterproofing: a damaged seal lets in water, causing mould and short circuits. A new seal costs €20; a leak can cost €500.
- Leaving perishables: a forgotten packet of pasta means a guaranteed mouse invasion. Vacuum and check cupboards before closing the doors.
- Parking on unstable ground: a poorly parked motorhome can warp under its own weight. Choose a flat, stable spot, and use chocks if needed.
Active vs. Passive Winterisation: Which to Choose?
It all depends on how you use it. Here’s how to decide:
| Criteria | Active Winterisation | Passive Winterisation |
|---|---|---|
| Winter usage | Ideal if you use your motorhome occasionally (e.g., mountain weekends). | Perfect if you won’t use it at all for 3 to 6 months. |
| Climate | Suited to regions where temperatures stay above -5°C. | Recommended for cold regions (temperatures below -10°C). |
| Maintenance | Requires regular upkeep: heating, ventilation, humidity control. | Less maintenance, but more rigorous preparation (drain, seal protection, etc.). |
| Cost | More expensive (electricity, heating, upkeep). Budget €20 to €50/month. | Less costly, but may require initial investments (protection, insulation). |
For active winterisation, install a space heater (like a Truma) and ventilate regularly to avoid damp. For passive winterisation, follow the checklist above meticulously—and check your vehicle every two months.
Insurance and Regulations: What the Law Says
Winterisation is also a matter of compliance. Here’s what the regulations say:
- Parking: a motorhome can park on public roads like a car, unless a municipal by-law says otherwise. However, deploying an awning or setting out chairs is forbidden—it’s considered wild camping (camping sauvage).
- Insurance: check your policy covers winterisation-related damage (frost, leaks). Some insurers require specific measures, like removing the battery. Without them, you risk a claim denial.
- Bike racks and accessories: bikes and racks aren’t always covered by your car insurance. Check with your insurer—a specific policy may be needed.
A well-insured, regulation-compliant motorhome means hassle-free travels. If in doubt, consult your insurer or the FFCC (Fédération Française des Camping-Caristes), which handles motorhome owners’ questions regularly.
In Short: The 3 Key Takeaways
- Full drain: no water left in tanks, or disaster strikes at the first frost.
- Battery protected: remove it or connect a smart charger. Otherwise, budget €200 for a replacement.
- Seals checked: a damaged seal means guaranteed flooding. Test with a hose before storing.