

Home » Motorhomes & campervans » Converted vans and campervans
Turning a bare panel van into a live-in camper follows four essential steps: pick the base, convert it, get VASP (véhicule automoteur spécialisé – specialised motor vehicle) approval, and update the vehicle registration. Skipping the approval stage leaves you open to a €135–500 fine once the van is already converted. Each guide below tackles one specific part of the process—no need to revisit the general van-life theory.
Quick recap:
- A second-hand van that hasn’t been thoroughly checked is rarely worth the trouble once the registration is signed—structural points matter more than the interior decor.
- DIY conversion means going through VASP approval, which changes the registration category and costs between €200 and €500.
- The choice of base (Ducato, Transit, Sprinter, Trafic) has a bigger impact on final comfort than the decor budget.
Converted van, converted panel van: what are we talking about?
A converted panel van is a commercial vehicle transformed into a living space: sleeping area, kitchen, storage, sometimes even a shower. A campervan serves the same purpose but in a more compact format, often derived from a city-delivery van. Within the broader world of motorhomes and campervans, this section focuses specifically on panel vans: buying one already converted, building it yourself, or choosing the right base before starting.
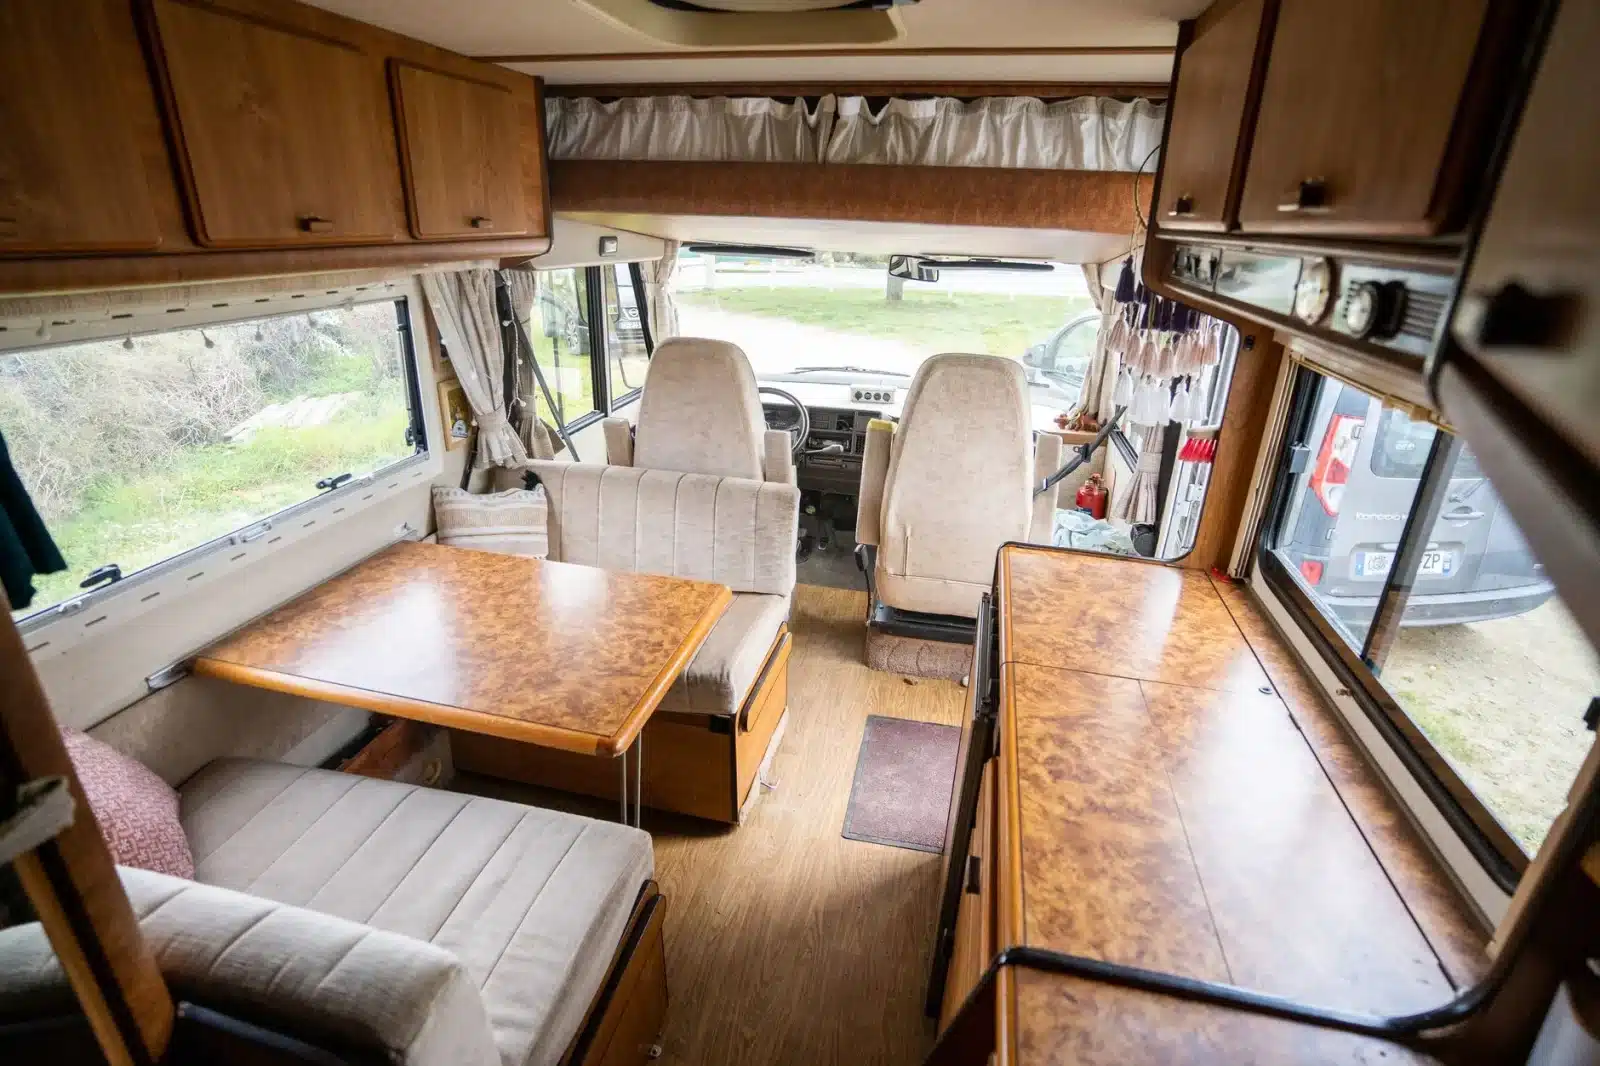
Sizes vary widely. A compact van like a short-wheelbase Ducato parks like a family car, while an L3H2 panel van allows you to stand up and offers a proper living space. The choice depends mainly on how you plan to use it: short solo trips, a couple of months on the road with a partner, or full-time nomadic living. Factory-built models from Challenger or Chausson cover this range with lengths and equipment tailored to different needs—from entry-level models to four-season vans designed for winter mountain trips.
The 4 guides to go from bare panel van to live-in vehicle
Each article covers a distinct stage of the project. They follow the logical order of a purchase, but you can skip straight to the step that’s causing you trouble.
- Buying a second-hand converted van: what to check before signing—from the floor to the gas system—to avoid inheriting the previous owner’s mistakes.
- Converting a panel van yourself and getting it approved: how to build the interior without getting stuck at the MOT (contrôle technique) due to lack of approval.
- VASP and vehicle registration: the paperwork—what changes administratively when a commercial vehicle becomes a specialised vehicle.
- Which panel van to choose as a conversion base: a comparison of the most commonly used chassis based on the living space you want and your starting budget.
Buy fully equipped or convert yourself: how to decide
The market offers two routes. Manufacturers like Challenger or Chausson deliver ready-to-drive vans and panel vans, complete with manufacturer warranty and standard financing. Buying a bare panel van—new or second-hand—then converting it yourself often halves the cost, but requires time and skills in electrics, plumbing and carpentry.
The real deciding factor is resale value. A self-converted van, even if well done, is harder to sell than a recognised factory model, because the buyer has to trust a technical file they didn’t follow. A second-hand Challenger or Chausson, on the other hand, keeps a known value and spare parts are easy to find.
The final cost depends less on the price of the bare van than on the level of finish you want. Proper insulation, an independent diesel heater and a lithium battery can easily add €8,000–15,000 to a DIY conversion, whereas a factory model already includes these in its list price.
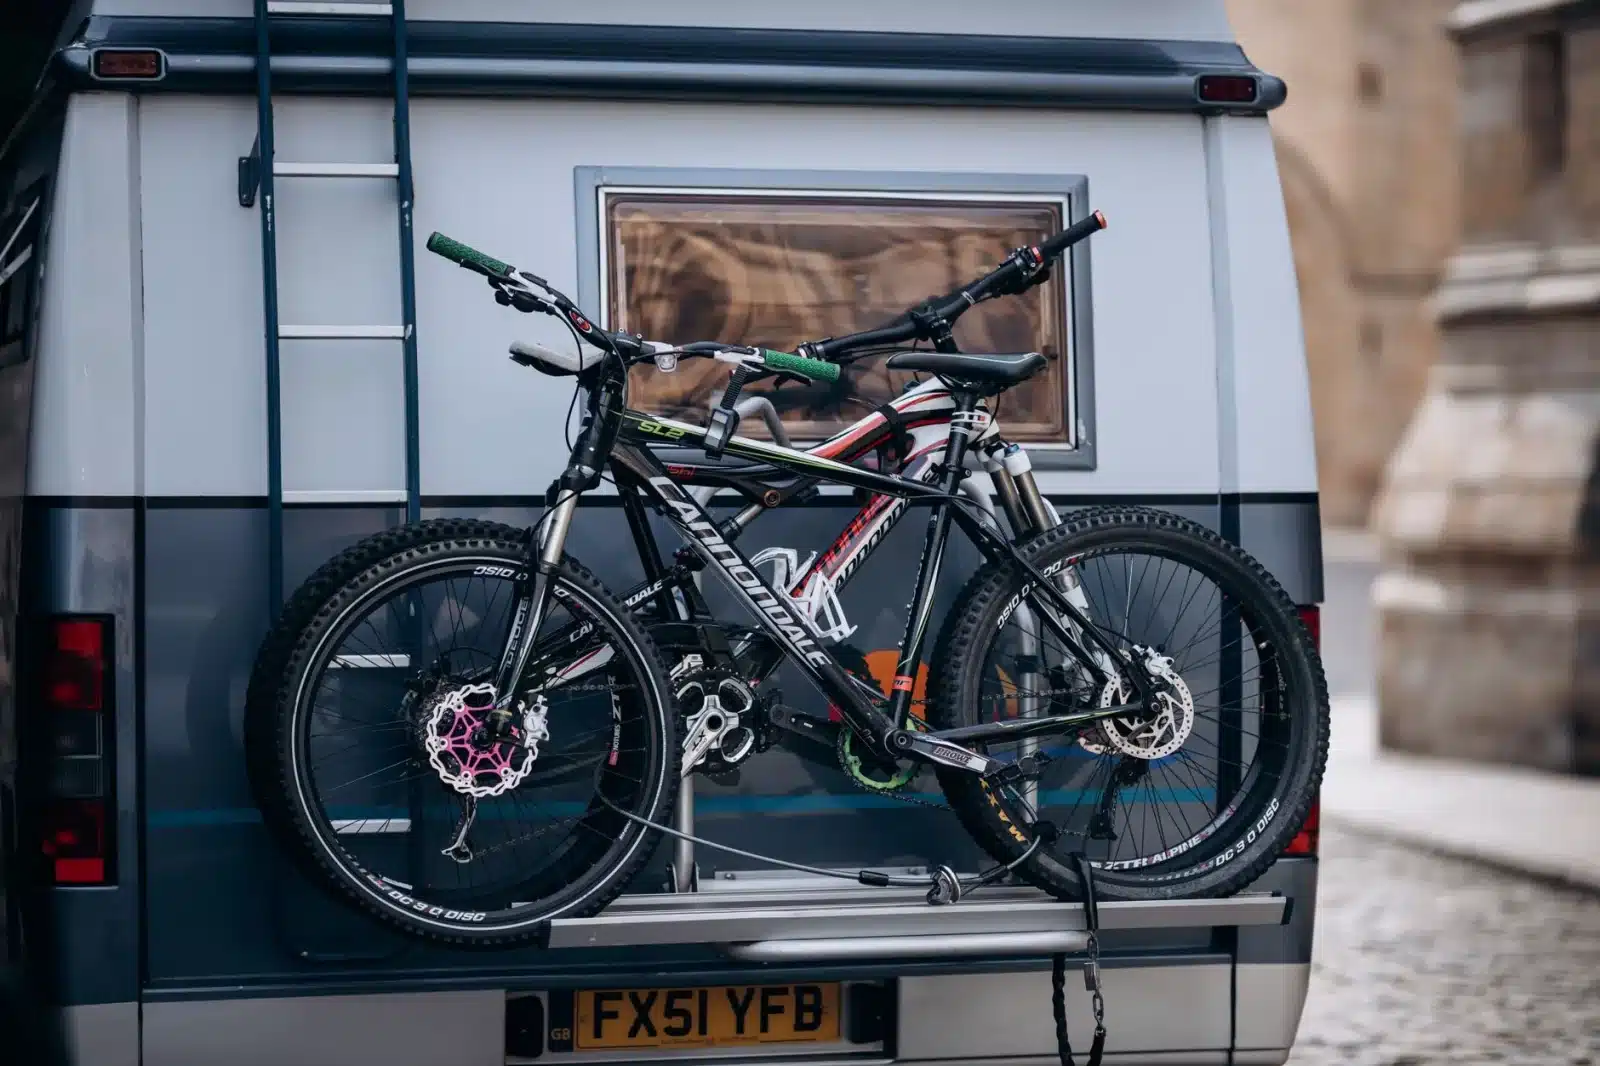
A compact van is more than enough for a three-day weekend with two bikes and a cool box. For a couple of months touring Europe as a couple, a taller panel van with a proper shower makes all the difference.
Hiring a converted van before buying
Hiring a converted van lets you test the lifestyle before committing. A weekend or a week is enough to check if a crosswise bed works, if you miss headroom in daily life, or if two solar panels really cover your electricity needs. This step prevents you from spending €30,000–60,000 on a project you only discover once you’re on the road—and it also helps narrow down the size you need before comparing the conversion bases listed above.
VASP and vehicle registration: the steps after conversion
Turning a commercial vehicle into a live-in one changes its official category—it becomes a VASP (véhicule automoteur spécialisé). This administrative change comes before the final vehicle registration and is required to pass the MOT (contrôle technique).
For a standard second-hand purchase, the change of ownership must be done within a month of buying, or you risk a €135–750 fine. The paperwork requires Cerfa form 13750*08, a proof of address less than six months old, the previous registration document marked “sold”, and an MOT (contrôle technique) less than six months old if the vehicle is over four years old.
The switch to VASP follows a separate process: the file goes through an individual vehicle approval (réception à titre isolé—RTI) with the DREAL, including conversion plans and photos of the installed equipment. This check focuses mainly on how the furniture is secured, access to exits, and compliance of the gas system—before the final registration document shows the vehicle’s new category. Expect several weeks’ wait, depending on the local DREAL’s workload.
| Step | Deadline | Indicative cost |
|---|---|---|
| Change of ownership | 1 month after purchase | €200–500 |
| Switch to VASP | before final registration | varies by DREAL |
| MOT (contrôle technique) (vehicle > 4 years) | valid for less than 6 months | ~€80 |
Insuring a converted panel van: the no-claims bonus applies too
A converted panel van is insured like any other motor vehicle: the no-claims bonus starts at 1 and decreases by 5% each year without a fault claim. After thirteen consecutive claim-free years, you reach the maximum bonus—a coefficient of 0.50. Conversely, a fault claim increases the coefficient by 25%, up to a ceiling of 3.5.
The difference comes from the VASP status and the added value of the conversion: kitchen, solar panels, lithium battery. Some mainstream insurers refuse to cover this equipment, which pushes you towards specialist motorhome policies. These are often more expensive for the same level of cover, but they take into account the converted contents—not just the chassis.
Declaring the exact value of the added equipment avoids nasty surprises in case of a claim. An insurer that doesn’t know about a kitchen or solar panel won’t compensate for it, even if the premium seemed to cover the vehicle as a whole.
Common mistakes before hitting the road
Some mistakes crop up in project after project, no matter the budget. They’re often spotted too late—once the vehicle is packed and ready to go.
- Underestimating the MAM (maximum authorised mass): a full conversion with water, batteries and furniture quickly exceeds the permitted weight, which invalidates the insurance in case of a check.
- Forgetting type-approved seatbelts for the new rear seats.
- Skipping thermal insulation—wrongly seen as something that can be added later—when it actually determines the entire interior layout.
- Driving without completing the VASP approval, which blocks the MOT (contrôle technique) and risks a fine if stopped.
- Choosing the conversion base solely on purchase price, without checking the available MAM or ground clearance needed to reach remote spots.